Overview
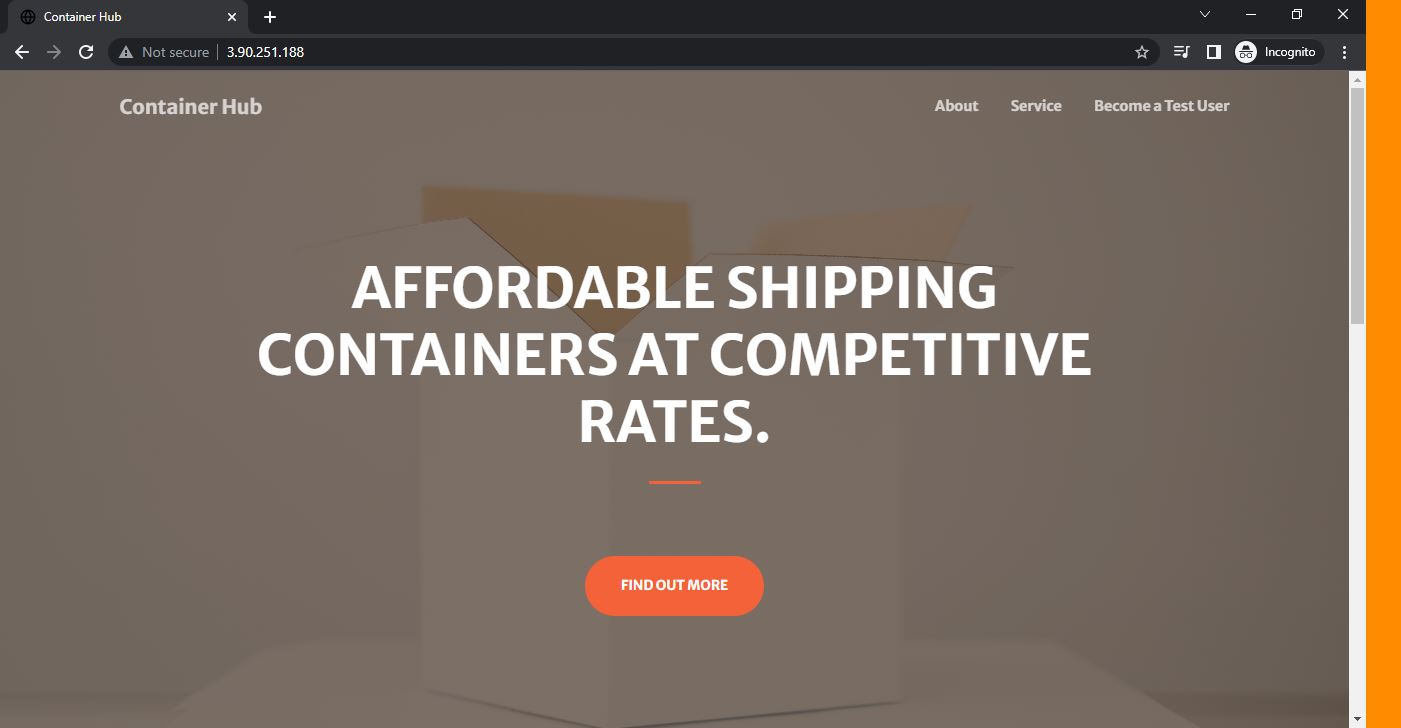
This project demonstrates the complete workflow of containerizing a web application using Docker and deploying it to Amazon Elastic Container Registry (ECR). The company's landing page is dockerized using Alpine Linux as the lightweight base image, configured with Nginx web server, and made accessible to other users through AWS ECR.
Project Objectives:
- Use Alpine Linux as the base image for lightweight containerization
- Build a Docker image using Nginx web server
- Integrate existing website files and Nginx configuration
- Push the Docker image to Amazon ECR for centralized access
- Enable container deployment across development teams
Prerequisites
- AWS Account: With programmatic access credentials
- AWS CLI: Installed and configured
- Docker: Docker Engine installed on your system (Installation Guide)
- Website Files: HTML, CSS, and configuration files ready for deployment
Project Structure
The project directory contains the structure below:
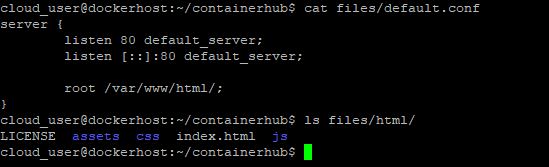
The default.conf file configures Nginx to serve content from /var/www/html/ on port 80.
Step-by-Step Implementation
1Write the Dockerfile
Create a Dockerfile that defines the base image, installs Nginx, and configures the web server with your website files and custom Nginx configuration.
# Create the Dockerfile


vim Dockerfile
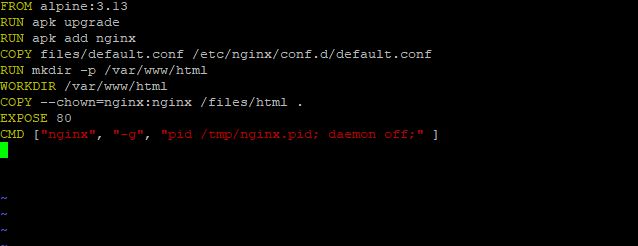
- FROM alpine:3.13 - Uses Alpine Linux 3.13 as the lightweight base image
- RUN apk upgrade - Updates all packages in the base image
- RUN apk add nginx - Installs Nginx web server
- COPY default.conf - Replaces default Nginx configuration
- RUN mkdir - Creates directory for website content
- WORKDIR - Sets the working directory
- COPY --chown - Copies website files with correct ownership
- EXPOSE 80 - Opens port 80 for HTTP traffic
- CMD - Starts Nginx in daemon-off mode for container compatibility
2Build the Docker Image
Build the Docker image using the Dockerfile and tag it with a meaningful name:
# Build the image from the current directory


docker build . -t web


# Verify the image was created successfully


docker images
This command builds the image using the Dockerfile in the current directory and tags it as web.
The build process will execute all instructions in the Dockerfile and create a reusable image.

3Launch the Container
Launch a container using the newly created image, mapping port 80 on the container to port 80 on the host:
# Run the container in detached mode with port mapping


docker run -dt -p 80:80 --name web01 web


# Verify the container is running


docker ps
The -dt flags run the container in detached mode (background), and -p 80:80
maps the container's port 80 to the host's port 80, making the website accessible.
4Test the Configuration
Verify that the containerized website is working correctly:
# Test locally using curl


curl localhost


# Access via web browser


# Navigate to: http://localhost or http://your-server-ip
The curl command should return the HTML content
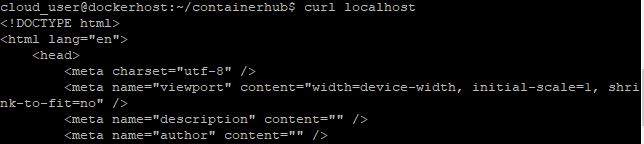
and accessing the IP address in a web browser should display your landing page.
5Push the Image to AWS ECR
After successful testing, push the Docker image to Amazon ECR for centralized storage and distribution.
5.1 Install and Configure AWS CLI:
# Install AWS CLI


sudo apt-get install awscli


# Configure AWS credentials


aws configure
Enter your AWS Access Key ID, AWS Secret Access Key, and default region when prompted.
5.2 Get AWS Account ID:
# Retrieve your AWS account ID


aws sts get-caller-identity
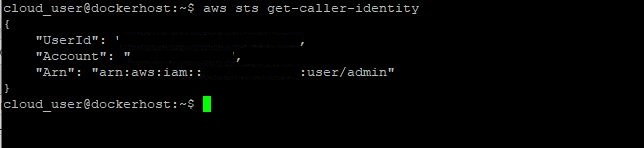
Note the account ID from the output - you'll need it for subsequent steps.
5.3 Authenticate Docker with AWS ECR:
# Authenticate Docker to AWS ECR


aws ecr get-login-password --region eu-west-2 | docker login --username AWS --password-stdin
  <*account-ID*>.dkr.ecr.eu-west-2.amazonaws.com
<account-ID> with your actual AWS account ID
and adjust the region (eu-west-2) to match your AWS region.
5.4 Create ECR Repository:
# Create a new ECR repository named 'web'


aws ecr create-repository --repository-name web

5.5 Tag the Docker Image:
# Tag the image for ECR


docker tag web:latest
  <*account-ID*>.dkr.ecr.eu-west-2.amazonaws.com/web:latest
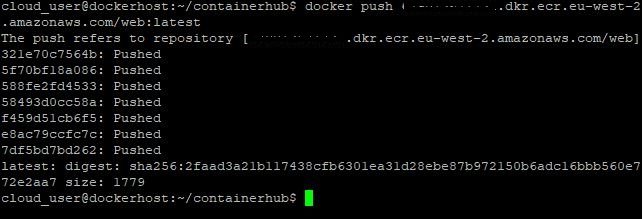
5.6 Push the Image to ECR:
# Push the image to AWS ECR


docker push <*account-ID*>.dkr.ecr.eu-west-2.amazonaws.com/web:latest
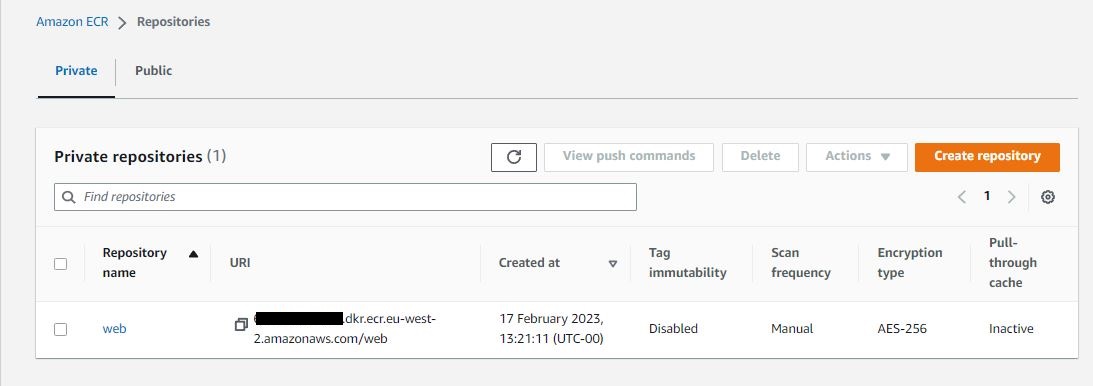
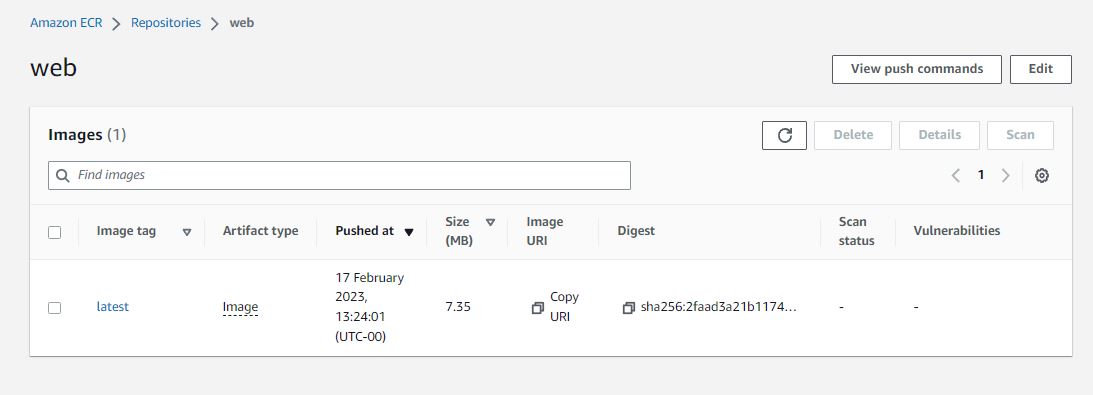
5.7 Verify the Image in AWS Console:
Navigate to the AWS ECR console to confirm the image has been successfully uploaded:
- Log in to AWS Management Console
- Navigate to Amazon ECR service
- Select your region (e.g., eu-west-2)
- View the
webrepository and verify thelatesttag
Key Achievements
- Successfully created a Dockerfile using Alpine Linux as the lightweight base image
- Configured Nginx web server with custom configuration files
- Built a production-ready Docker image with optimized layers
- Deployed and tested containerized web application locally
- Configured AWS CLI for programmatic access to AWS services
- Authenticated Docker with AWS ECR using secure credentials
- Created Amazon ECR repository for centralized image storage
- Successfully pushed Docker image to AWS ECR for team-wide access
- Enabled consistent deployment workflow across development environments
Benefits of This Approach
- Lightweight Containers: Alpine Linux provides a minimal footprint (approximately 5MB base image)
- Consistency: Identical environments across development, testing, and production
- Portability: Container can run on any system with Docker installed
- Centralized Storage: AWS ECR provides secure, scalable image storage
- Version Control: Image tagging enables easy version management and rollbacks
- Team Collaboration: Shared access to container images across teams
- Integration Ready: Compatible with AWS ECS, EKS, and other container orchestration platforms
Technologies Used
Next Steps
To further enhance this deployment workflow, consider:
- Implementing multi-stage Docker builds for smaller image sizes
- Setting up automated CI/CD pipelines to build and push images
- Deploying containers to AWS ECS or EKS for production workloads
- Configuring AWS ECR lifecycle policies for image retention
- Implementing image scanning for security vulnerabilities
- Using Docker Compose for multi-container applications
Conclusion
This project demonstrates a complete containerization and deployment workflow using industry-standard tools. By containerizing the web application with Docker and deploying to AWS ECR, we've created a reproducible, scalable, and portable deployment solution.
The use of Alpine Linux ensures minimal resource consumption, while AWS ECR provides enterprise-grade container image management with built-in security, scalability, and integration with other AWS services. This approach forms the foundation for modern cloud-native application deployment strategies.